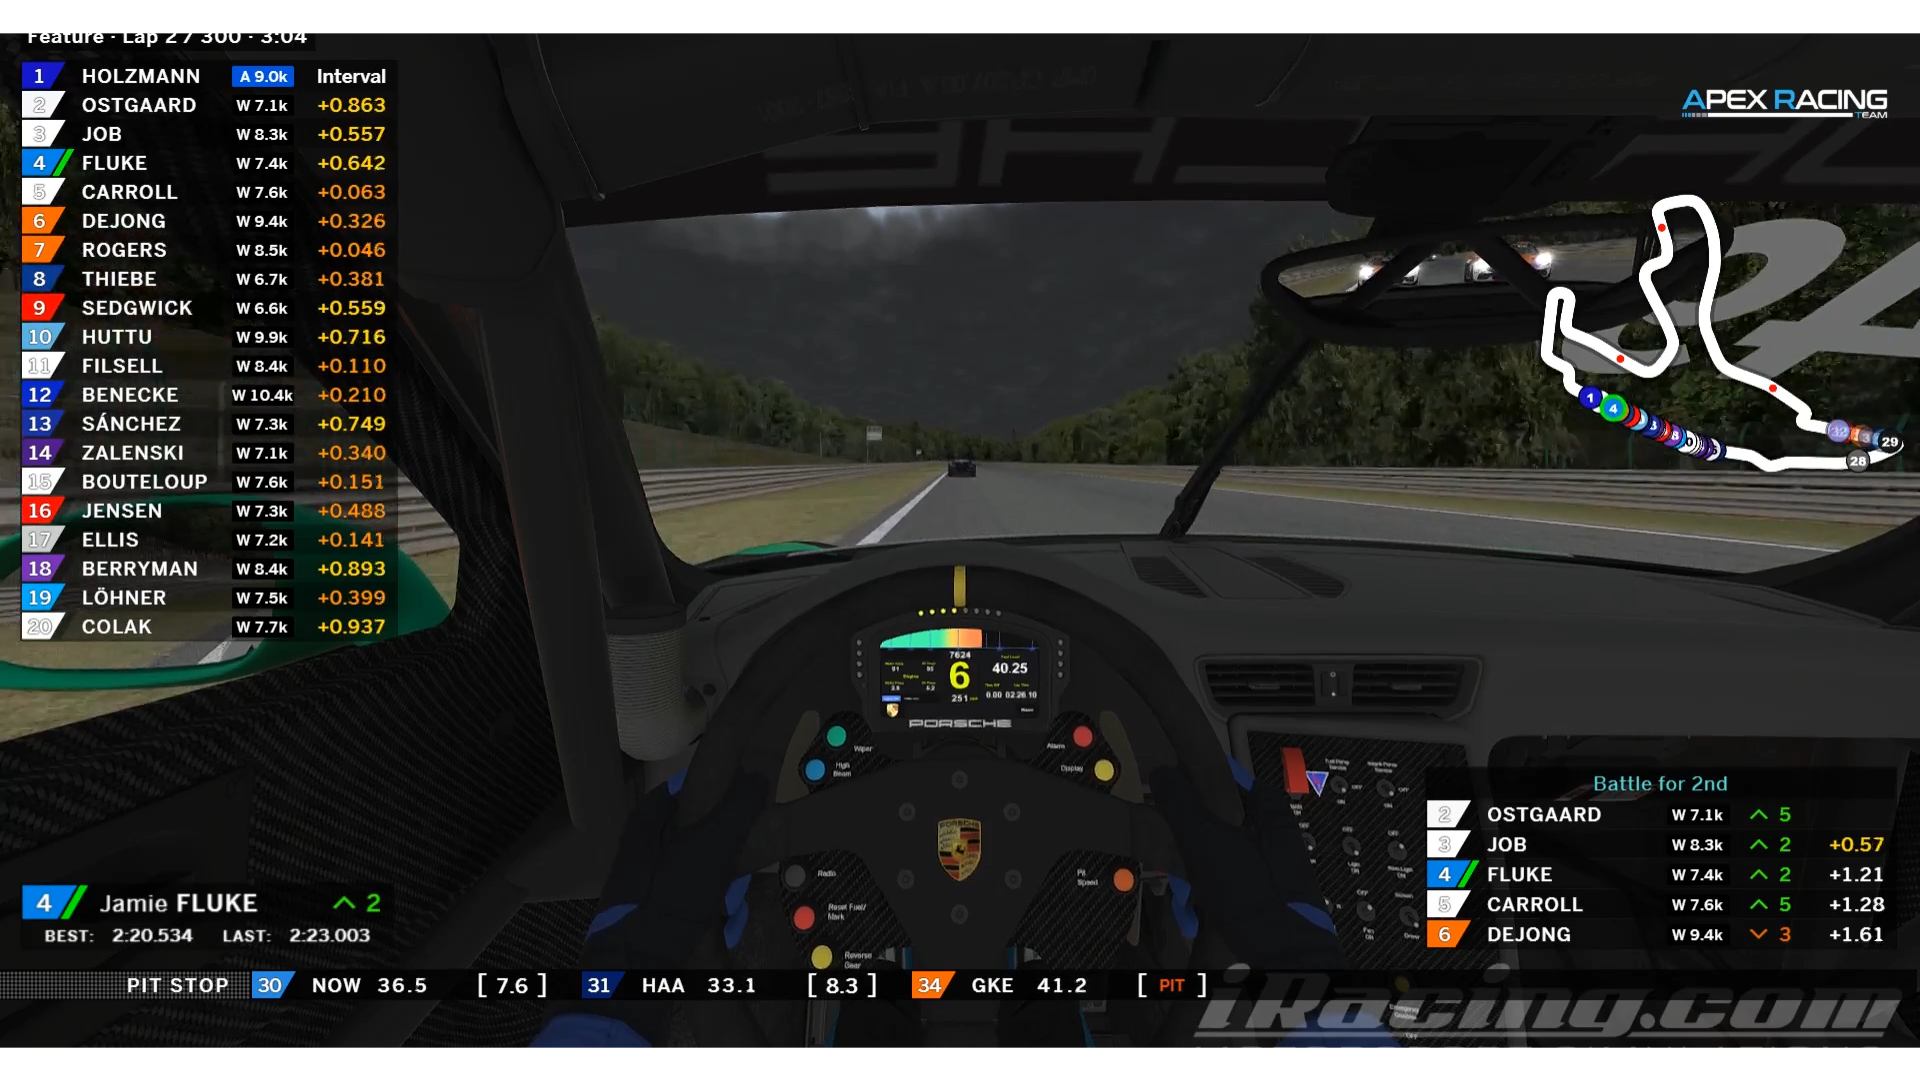
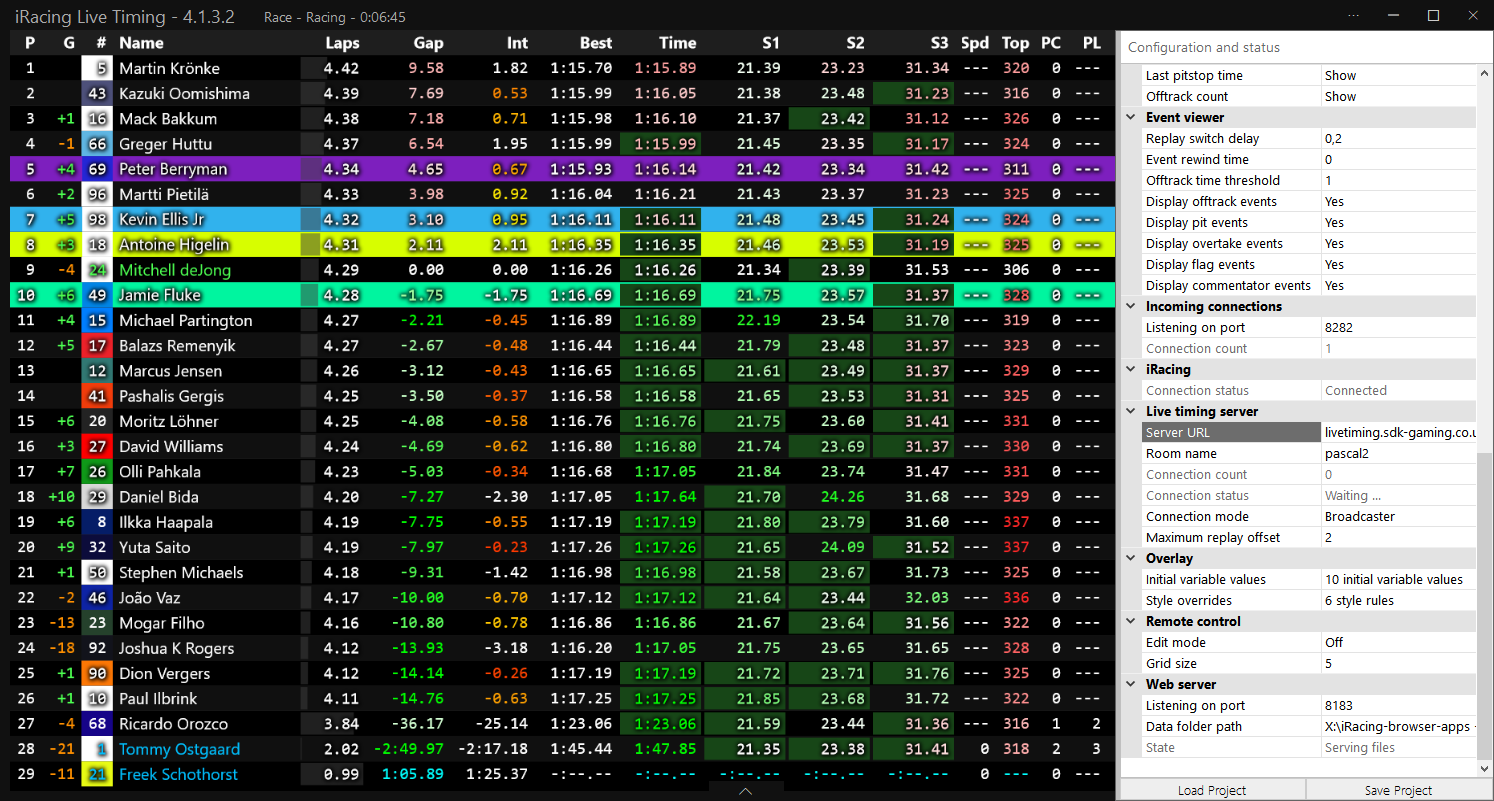
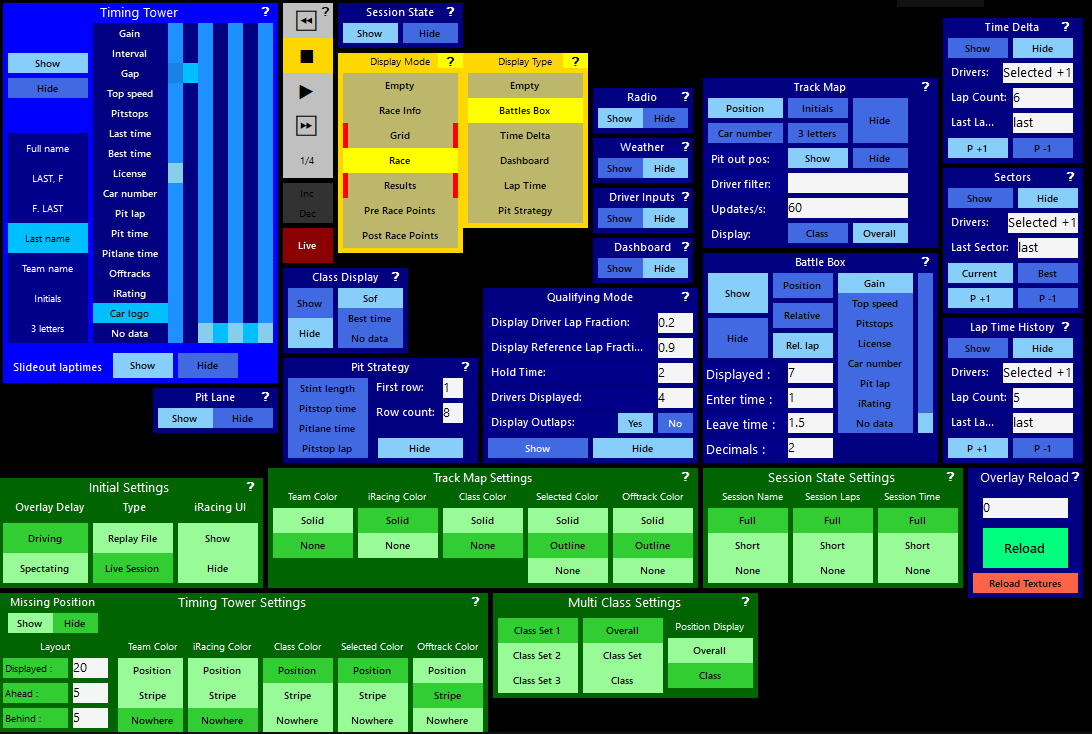
So now that you have a default overlay displaying in Live HUD we can decide what Components of the overlay we choose to Hide or Show. In iRacing Live Timing press F4 or click the up arrow at the bottom of the screen and depending on which project file you have loaded you will see a layout of buttons appear. We will use the Live HUD default project file in our example.
By hovering your mouse over a Component or a button within a Component, a tooltip will display with a brief description of what it does. You can also click on the question mark in the corner of each Component to open the website support page for that Component!
Most of the buttons displayed allow for a simple Show or Hide option for a particular component. For example if I select Hide under the label Track Map the Track Map will disappear! Some of the components have buttons for tuning what type of information is displayed. For example the Timing Tower can be set to display a variety of different information, much of it simultaneously if you wish and present it in different ways (for instance during multi class racing)!
You now have setup a basic overlay that allows you to Show and Hide different components to display the information you whilst driving!! However iRacing Live Timing allows almost infinite amounts of customisation to your overlay to create a personal and unique overlay with many advanced features! Head over to Overlay Component List, Remote Control Tab and Editing CSS Styles for more information on beginning this customisation and remember to jump in our Discord support channel for any other questions!


